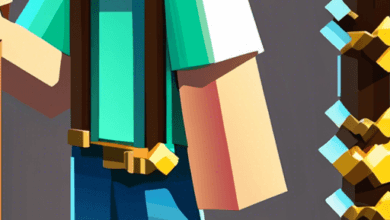
Creating Custom Skins and Texture Packs in Minecraft: Personalizing Your Game

Minecraft is an open-world game where players can create and explore their digital worlds. One of the most exciting aspects of this game is the ability to personalize it through custom skins and texture packs. These modifications can help make your Minecraft experience more unique and tailored to your interests. In this blog post, we will discuss how to create your own skins and texture packs, as well as provide resources and tips to get you started on personalizing your game.
- Creating Your Own Minecraft Skins
Minecraft skins are the physical appearance of your in-game character, also known as Steve or Alex. By creating custom skins, players can give their characters a unique aesthetic that reflects their personality or interests.
To get started with creating a custom skin, follow these steps:
a. Download any Minecraft skin editor – Many tools are available online for free, like Skindex, NovaSkin or MCSkin3D.
b. Start designing your skin – These editors typically have an easy-to-use interface that allows you to modify your character’s appearance pixel by pixel.
c. Save your skin – Export your skin as a .png file and save it to access it later.
d. Upload the skin to your account – Log in to your Minecraft account on the official website and upload the .png file under “Profile” > “Skin.”
e. Apply the skin – Start the game, navigate to “Options” > “Skin Customization,” and apply your newly created skin.
- Creating Your Own Texture Packs
Texture packs alter the appearance of Minecraft’s blocks, items, and creatures throughout the whole game world. By customizing textures, players can make their worlds stand out.
Follow these steps to create a texture pack from scratch:
a. Download a texture pack template – Head over to websites like CurseForge or PlanetMinecraft to find templates suitable for your desired style.
b. Edit the textures – Using image editing software, such as GIMP or Photoshop, modify the .png files included in the downloaded template to create new textures.
c. Save and organize textures – Save the edited .png files in a folder organized for easy access.
d. Compress your pack – To make your texture pack shareable, compress the organized folder into a .zip file.
e. Install the texture pack – Move the .zip file to Minecraft’s resource pack folder under “.minecraft” > “resourcepacks.”
f. Activate your new pack – In-game, go to “Options” > “Resource Packs” and select your custom texture pack to apply it to your world.
In conclusion, creating custom skins and texture packs is an excellent way to enhance your Minecraft gaming experience, making it unique and personal to you. By following the guidelines above, you can take control of your character’s appearance and the game world’s visuals, making it truly your own.


